WIRING COLIGHT 3 INCH HD SERIES MOTORCYCLE LIGHTS ON BMW R1250GS
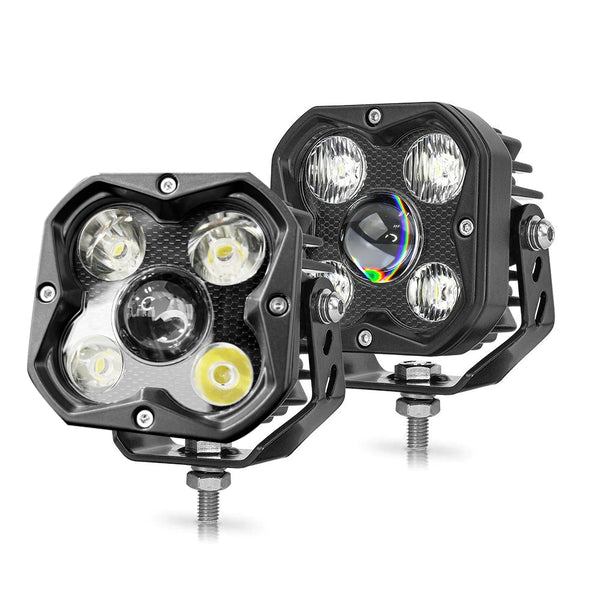
The long-awaited COLIGHT 3-inch HD series motorcycle lights are here. A combination spotlight and floodlight designed for maximum range of lighting. This small but powerful LED light is perfect for off-road adventurers who need to light everything up after the sun goes down. It also has excellent performance in bad weather, not only suitable for motorcycles, but also very suitable for off-road vehicles, UTVs, snowmobiles, trucks and so on. With its unique appearance and excellent performance, it has to be said that this light can be called the Rolls-Royce of the car light industry.
COLIGHT 3 INCH HD SERIES: 2 beam pattern available, the spot beam and flood beam

Create for off-road, we'd love to see you take it for a free ride. Hd series light has two beam pattern options:Flood beam and spot beam, you can free to choose your most fitable design.
Find them online:
- COLIGHT Website: Check Price
Features:
- Beam Pattern Options: Flood beam or spot beam
- (4)5W+10W High-Intensity LEDs
- Color Temperature - 6000K
- PMMA Acrylic Glass Lens
- Die-cast Aluminum Housing
- Black Powder Coat Finish
- IP68 Rate
- Universal Mounting Applications
Performance Spec (Per Light)
- RAW Lumens: 3,300 lm @6000K
- Beam Distance (Meters): 310m(Flood); 450M(Spot)
- Beam Pattern: Combo
- Wattage: 30W
- Amp Draw: 2.5A @ 12V
- Voltage: 10V-30V
- IP Rating: IP68
- Product Dimensions: W – 3.2″ x H – 3.7″ x D – 2.6″
INSTALLATION OVERVIEW
Video Install
Difficulty
- Moderate
Time & Assistance
- Hours:2-4
- People: 1
UNPACK & CUT WIRING HARNESS

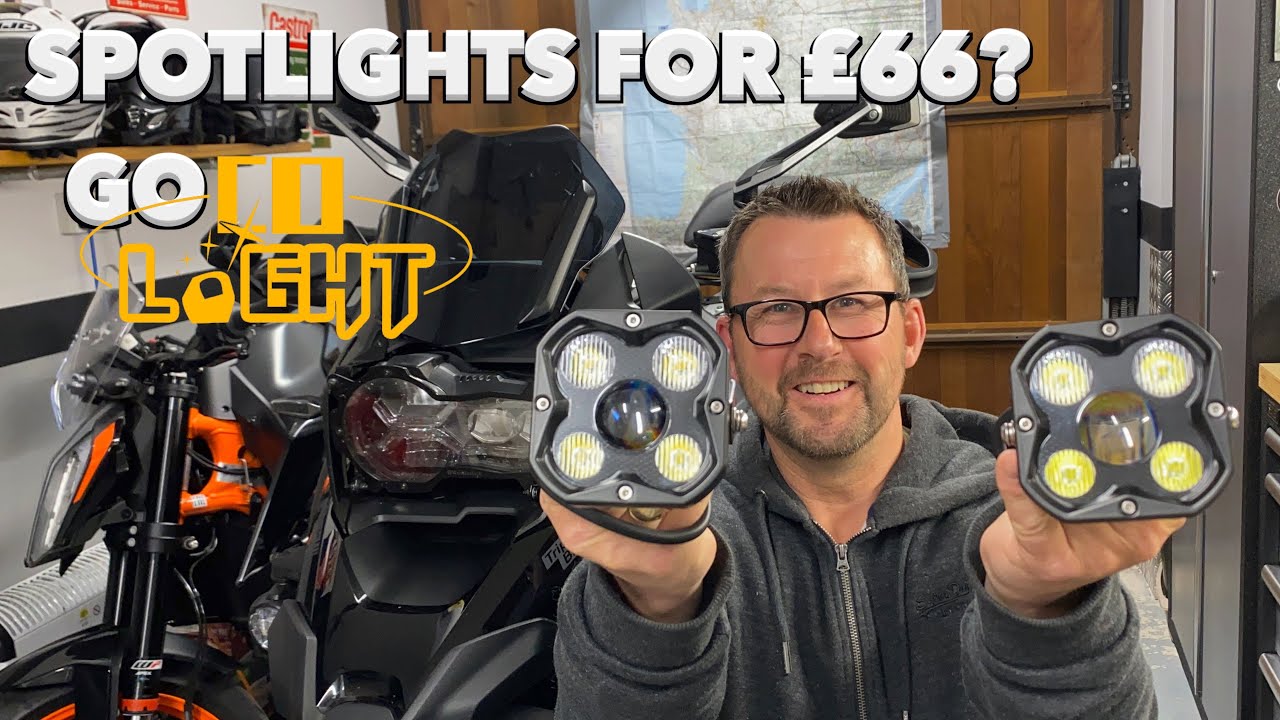
We invited a professional and interesting youtube blogger Paul (Check more on Youtube: GSD321) to install and test HD lights. The unpacking includes a pair of lights with brackets, screws and nuts, extra a pair of brackets, and a wire set.


Paul has a Hex Ezcan accessory manager on his BMW R1250GS, so he made some adjustments for our wireset. He plans to install the light on the engine pole, cut and leave enough long wires to connect the light to the hex ezcan system, install two female plugs at the end of the line, and then use the Y- shapped connector to connect accessory manager.
INSTALLATION

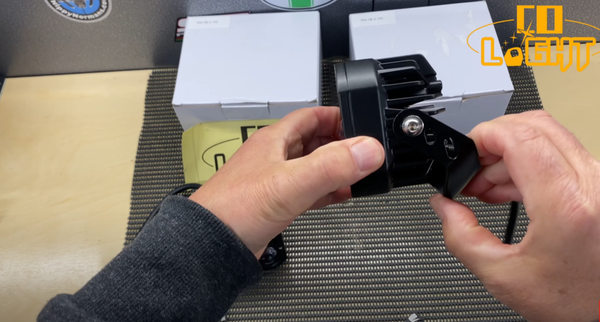
Screw the brackets to the lights

Use a small brackets to put the lights

Connect the lights with the wire harness

Paul tips:" You can use some zip tie to keep everthing nice and secure,and also you can pop a bit of dielectric grease to the plug before you connect them, so that it helps keep the water out."
PROGRAM THE LIGHTS

Paul programmed the lights up when press three times indicator button,low beam 30% power, high beam 90% power.

At the day time you can set up the lights not dazzle anybody, and then at the night time you can pump the power up to give you a better visibility in the road.

Through the programming, you can set up when indicator on, Hd series lights off and when indicator off, both lights come up. And when you pass somebody you can flip your headlight high beam three times to strobe the lights.Hd series well done in these lighting Settings.
TESTING LIGHTS

When headlight is covered, 90% power high beam

30% power low beam

Headlight uncovered,bike headlight light up only

Hd series and bike headlight light up together
FINAL THOUGHTS REVIEW
Through Paul's detailed installation and testing, although the Hd series lights are aftermarket lights, its quality and effect are no less than that of any big brand. From the appearance design and lighting performance to the actual lighting effect, it is definitely the most competitive choice.
Questions or comments?Leave them below!

