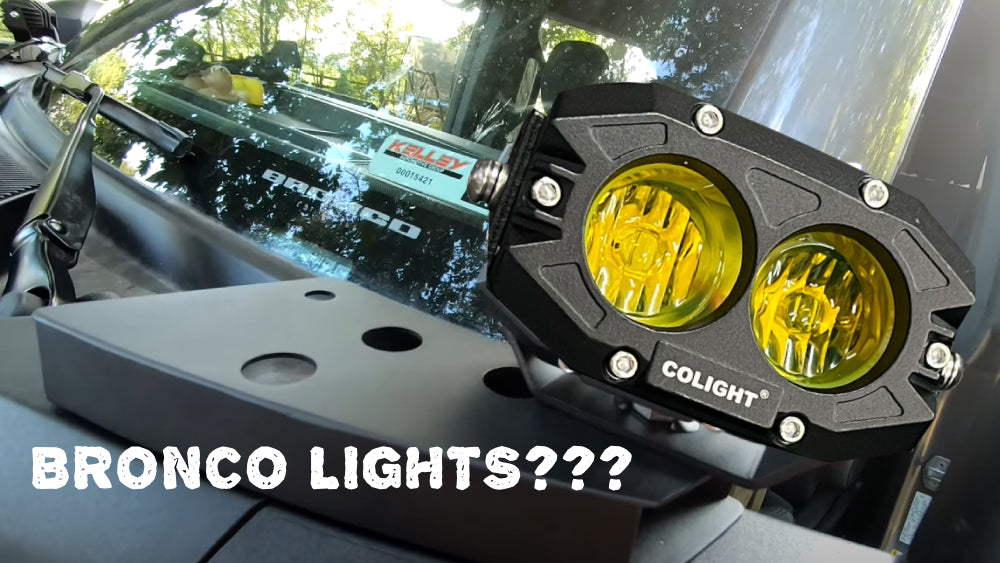
BRONCO LIGHTS: WHAT TO KNOW BEFORE YOU BUY

AN OVERVIEW ON DITCH LIGHTS & A-PILLAR BRACKETS FOR BRONCO IN GENERAL:
Whether you are an off-road enthusiast, a passionate camper, or just looking to increase the range of lighting, ditch lights are an essential choice never ever,as a supplementary light to the headlights, it can illuminate the areas on both sides of the vehicle in front, and even spot versions can illuminate distances of several hundred meters ahead. Depending on the lighting effect you want, you can adjust the installation angle of the lights, greatly improving driving safety. Installation is also very convenient.
Common ditch lights size including 3 inch, 4 inch and 4.5 inch:
-
CO LIGHT 3inch DDF Series Dual Color Square Lights
-
CO LIGHT 3inch HD Series White Combo Beam Lights
-
CO LIGHT 4inch Rob2 Pro Series Light pods
-
CO LIGHT 4.5 Inch Cube4 Series Spot lights
QUICK INSTALL REVIEW
Today, let me show you an example of ditch light installation. We've invited a highly skilled professional Bronco blogger-All Things Out Doors(Jeremy) who has chosen our Rob2 Pro lights for an honest review. Let's take a look together at the performance and practicality of these lights.

When purchased the Bronco, Jeremy bought a cheap set of ditch lights to increase illumination. After using them for a while, he wasn't satisfied with their lighting performance. The acrylic panels on the lights showed significant wear and reduced light transmission. So, we sent him a pair of 4-inch ditch lights to replace them. Our lights feature PC panels, offering improved durability, scratch resistance, higher light transmission, and a longer lifespan.
This 4-inch Rob2 pro light not only provides powerful lighting effects with a cool design, but it also allows for the replacement of the lens in the middle of the light to achieve different lighting effects and light beam colors.
See how to replace the lens
INSTALLATION PART

First at all, cut the lights off with a machete.Haha, just kidding, please be sure to unhook the power cable to your battery when you go to remove your lights.
Since Jeremy's Bronco still had the previous light's wiring in place, he only needed to connect our light directly to the positive and negative terminals to make it work. Here's a side note: our light came with a DT connector, so he cut it off in order to directly connect the two wires to the positive and negative terminals on the car.Of course, If you need only wires version you can also make the notes in your order:)

Ok he finished, " Don't forget to put these wires into the tube sleeve to make it more clean and safe! "Jeremy said.
Let's check his work
LIGHTS EFFECT TEST
Finally nighttime comming, it's time to test how well the lights actually work in the dark


Check Jeremy's full review video: Here
Alright, believing that after watching Jeremy's video, you should have a better understanding of the function and installation location of ditch lights. We hope you find the perfect lighting solution to meet your specific needs and preferences. If this article has been of any help to you, don't forget to leave your comments!
Thanks for your time, see you next time!

